Multi-window App
See more about the structure of mini-apps at Mini Apps page.
In this example, we create a simple multi-window app that tracks and broadcasts data to its child windows.
As an example, we use Plotly to display rapidly changing data in each opened window. For flexibility, we use the WLX type of cell to have more flexible styling options.
As a reminder
When you export a notebook as mini-app and run it: 1. Only initialization cells will be evaluated 2. Default context is randomly generated 3. The last input cell will be evaluated and the result will become the first window of an appApp Logic
We simulate a process by creating a timer that generates a noisy sinusoidal signal.
Download original notebookgenerator := Sin[0.1 AbsoluteTime[] + 0.1 RandomReal[{-1,1}]]; state = {}; If[ScheduledTaskActiveQ[task], TaskRemove[task]]; task = SetInterval[ With[{item = generator}, AppendTo[state, item]; handler[state]; ]; , 30];
Now we define a handler function, which uses a pool of active PlotlyInstance objects and broadcasts new data points to all.
pool["Data"] = {};
pool["Push", el_] := pool["Data"] = Append[pool["Data"], el];
pool["Remove", el_] := pool["Data"] = pool["Data"] /. el -> Nothing;

handler[state_] := PlotlyExtendTraces[#,
    <|"y" -> {{state // Last}}|>, {0}
] &/@ pool["Data"];

windows = {};
Now let's design our child window. It will an extremely basic layout with a single Plotly inset. We return both:
- template
PlotlyInstance
.wlx

SecondWidget[initial_] := With[{
  PlotlyInstance = Plotly[<|
    "y" -> initial,
	"type" -> "line"
  |>]
},

 <|
  "View" -> (
    <div class="px-2 py-2">
      <PlotlyInstance/>
    </div>
  ),
  "Plotly" -> PlotlyInstance
 |>
]
Main Window
To create a new window, we use CellPrint. Yes, it's a function that prints cell content with an option to print outside the notebook to a new window. The architecture of windows and cells is quite similar; therefore, we decided not to invent new abstractions.
It is important to note that you need to provide the Notebook object to a CellPrint function, since it is evaluated externally by a button click (lambda-like call). In this sense, it is no longer connected with the evaluation context of an app.
CellPrint["Hey!", "Display"->"html", "Target"->_]
The main window contains only two buttons:
- One creates a window.
- The second closes all.
We subscribe to the RemoteWindowObj returned by CellPrint to track opened and closed windows and add or remove our Plotly instances from the pool.
This cell has to be the last one in the notebook
.wlx

With[{
  Btn1 = InputButton["Open a widget"],
  Btn2 = InputButton["Close all"],
  notebook = EvaluationNotebook[]
},

  EventHandler[CurrentWindow[], {"Closed" -> Function[Null,
    TaskRemove[task];
  ]}];

  EventHandler[Btn2, Function[Null,
    Delete /@ windows;
    windows = {};
  ]];

  EventHandler[Btn1, Function[Null,
    With[{instance = SecondWidget[state]},
      With[{window = CellPrint[instance["View"], "Display"->"wlx", "Notebook"->notebook, "Target"->_, ImageSize->{600,400}]},

        AppendTo[windows, window];

        EventHandler[window, {
          "Mounted" -> Function[Null,
              pool["Push", instance["Plotly"]];
          ],

          "Closed" -> Function[Null,
              pool["Remove", instance["Plotly"]];
          ]
        }]
      ]
    ]
  ]];

  <div class="px-2 py-2 flex flex-col">
    <p class="text-sm">Click here</p>
    <div class="flex flex-row gap-x-2"><Btn1/><Btn2/></div>
  </div>
]
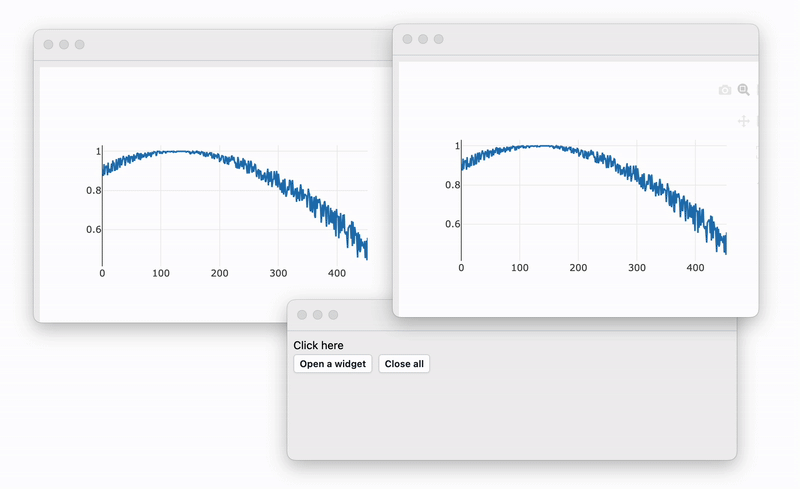
Final result
Here is a link to download an exported app
The result: